How to make raw butter from heavy cream {with photos}

There is nothing like making homemade butter.
And *eating* homemade butter.
The process of taking cream and churning it into butter always makes me smile. Every single time. It makes the kids laugh with giddiness at the golden yellow butter mixing and forming in the kitchen aid.

And making butter at home can be simple!
Here are the basics:
What you'll need:
- A Kitchen Aid mixer, butter churn, or food processor
- heavy raw cream, or cream off the top of your raw milk
- cold water
- metal sieve or colander
- warm biscuit to slap butter onto immediately ;)
The easiest way to make butter is with heavy cream.
Heavy cream has less milk than cream that's from the top of whole, raw milk since heavy cream has been run through a cream separator to remove most of the skim milk.
You can also use milk from the top of your whole raw milk. Pour milk into a widemouth container and let it sit in the fridge for a day. The thick cream will rise on top and you can ladle it out. You can also use a turkey baster to siphon cream out.
If using heavy cream from our farm: use cold cream
If using cream ladled off the top of whole raw milk: my best advice is to have cream at 55F before churning. It is a little less consistent to use cream from off the top of milk because of the variables of how much skim may still be in the cream, and it will take longer than the method shown here with heavy cream, but you can do it!
Using heavy cream, I can make butter in just five minutes! You can, too!
How to make raw butter:
Pour the cream into the Kitchen Aid, churn, etc.
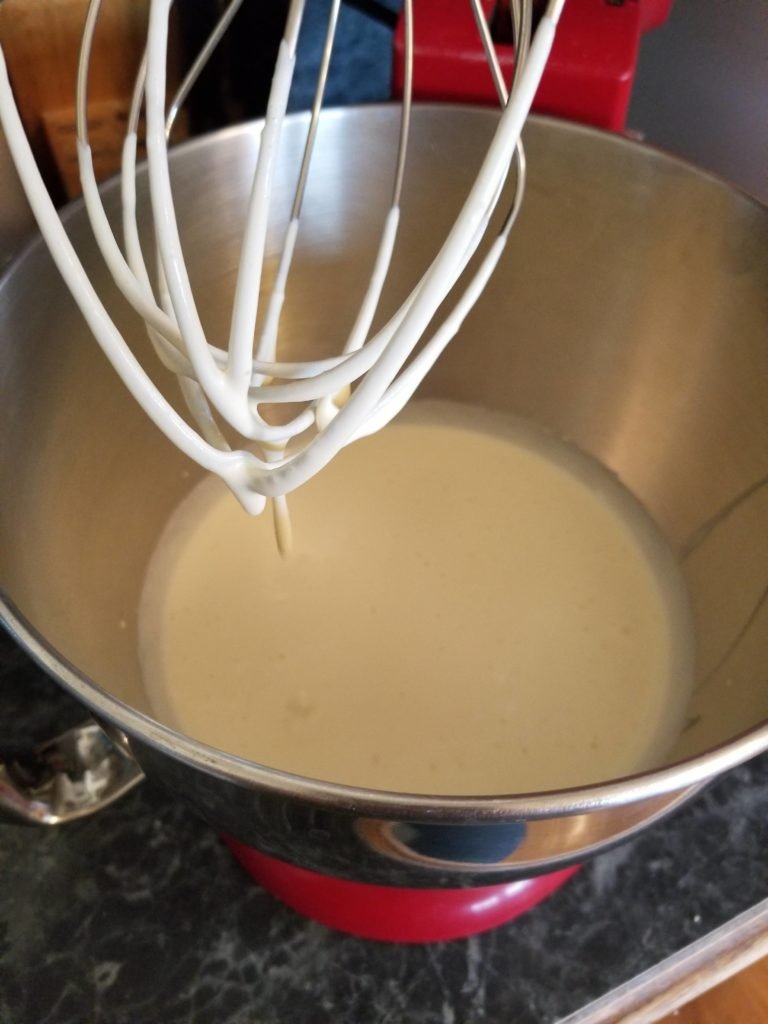
I am using 1 pint COLD cream (2 cups of heavy cream from our cows).
I put it at a medium speed (4 on my machine). You can cover with a towel or guard to avoid splashes.

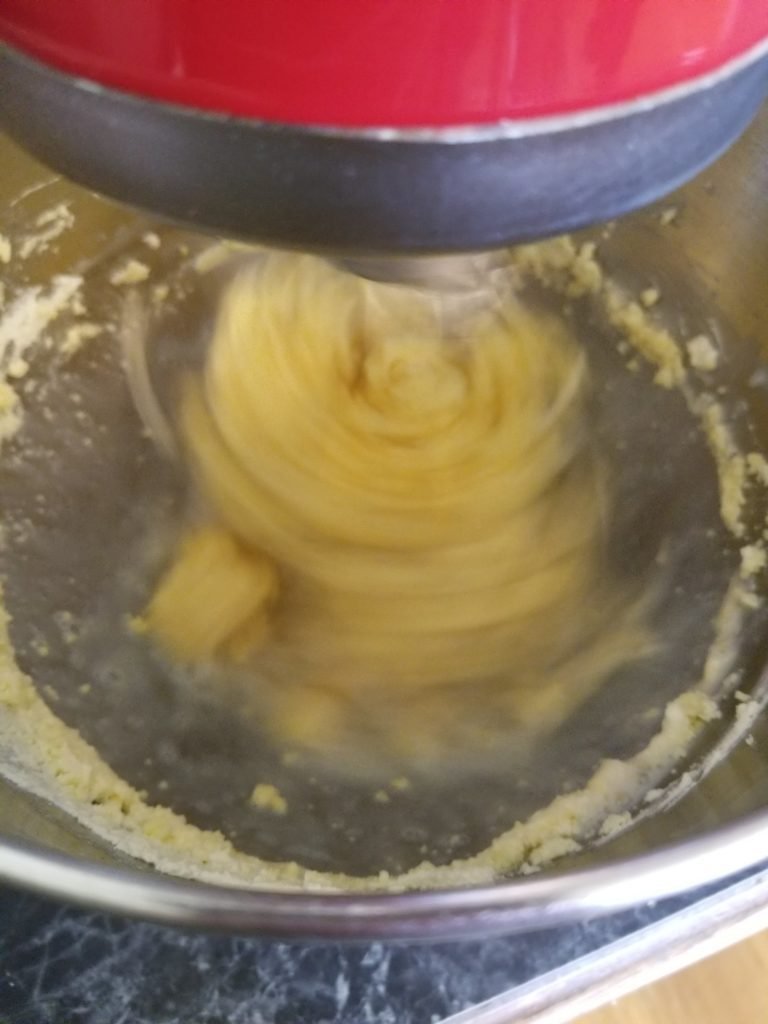
Whip for a couple of minutes. You will notice it thickening.
After another minute or two, it will look like this.
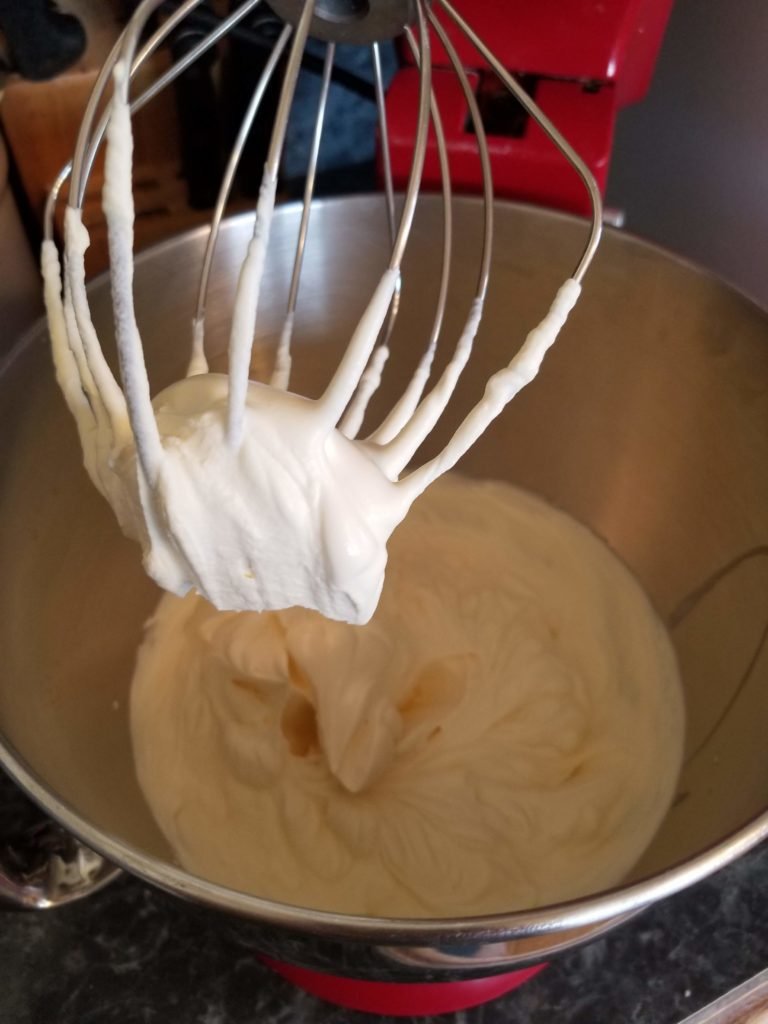
It is absolute perfection for strawberry shortcake or a homemade pound cake right here!!
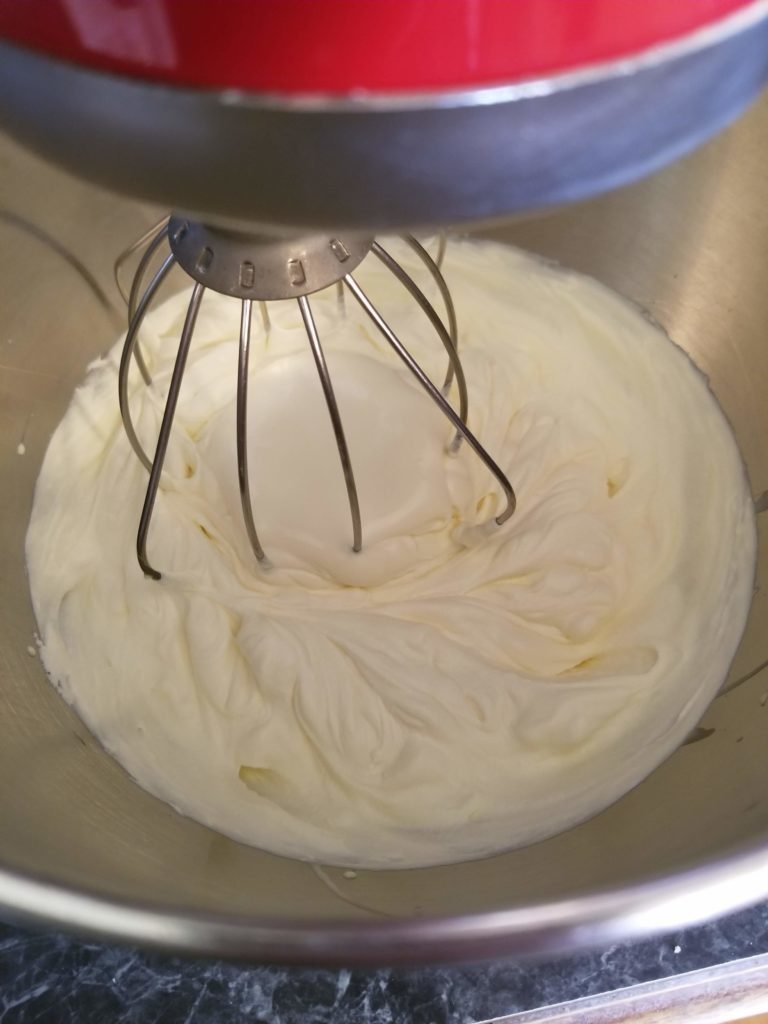
Keep going another minute. Then you will see it thicken even more:
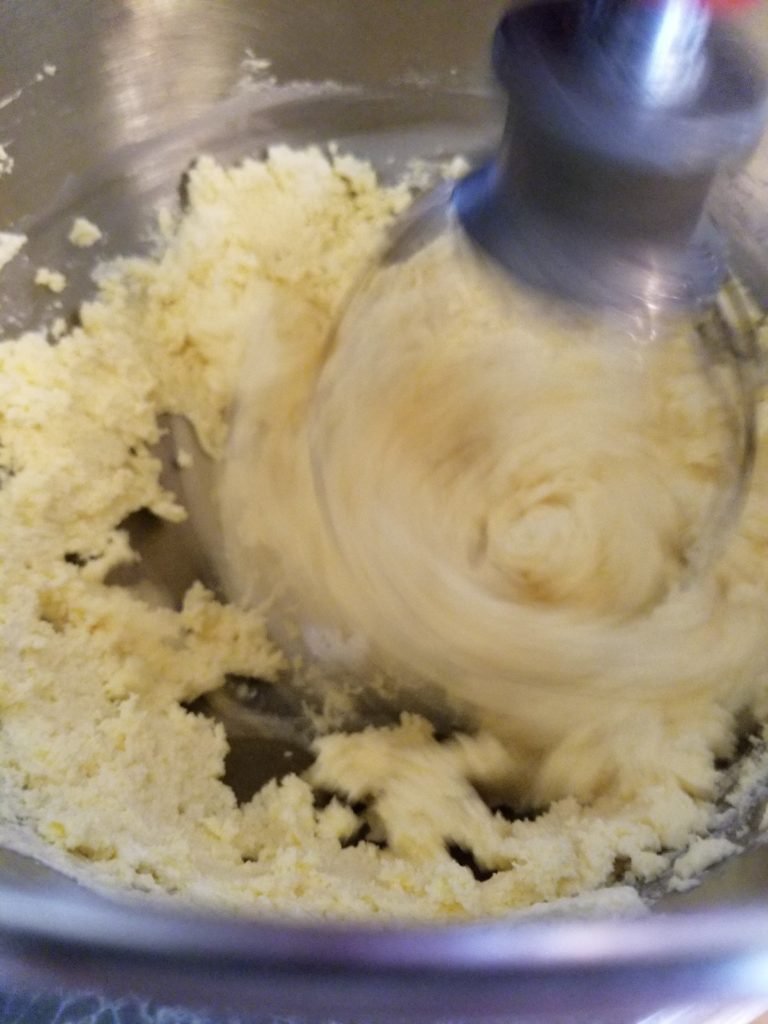
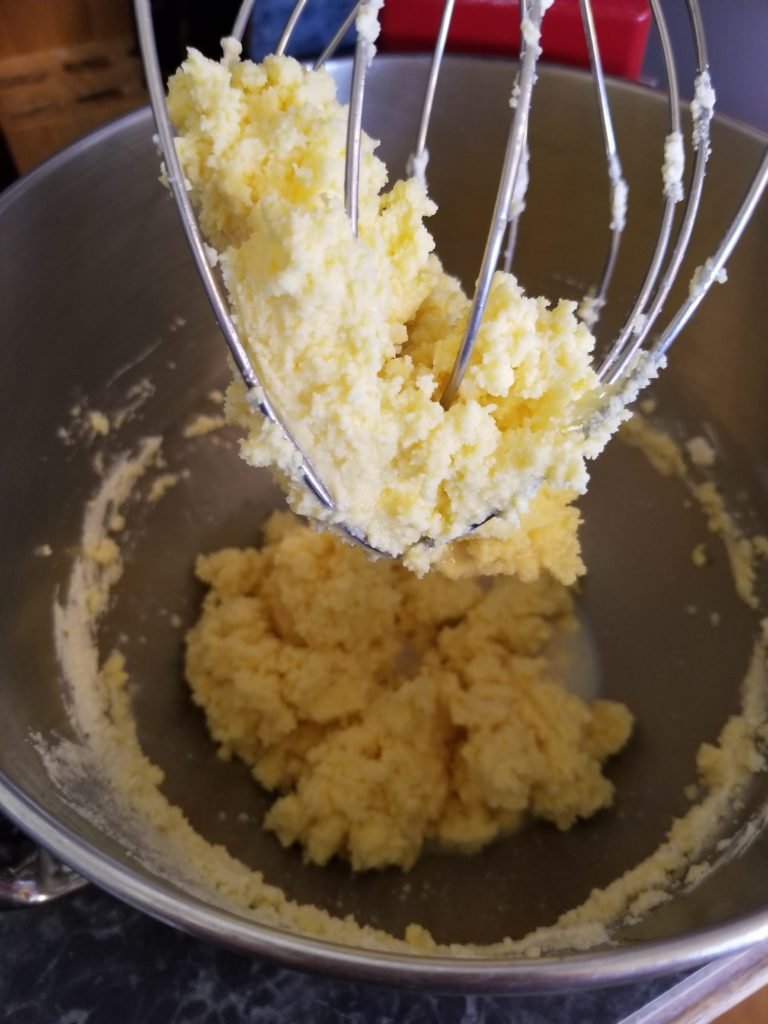
Another minute of whipping and it will get “grainy” and chunky:

It will start to “break” and separate into butter and skim milk. This is almost there:
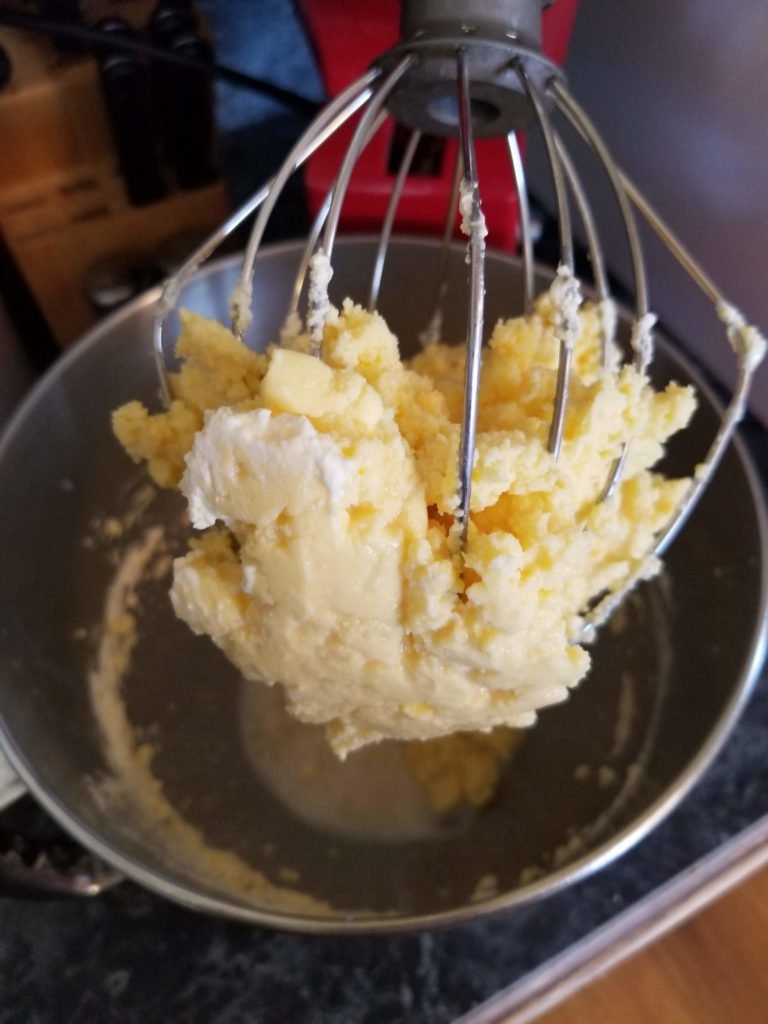
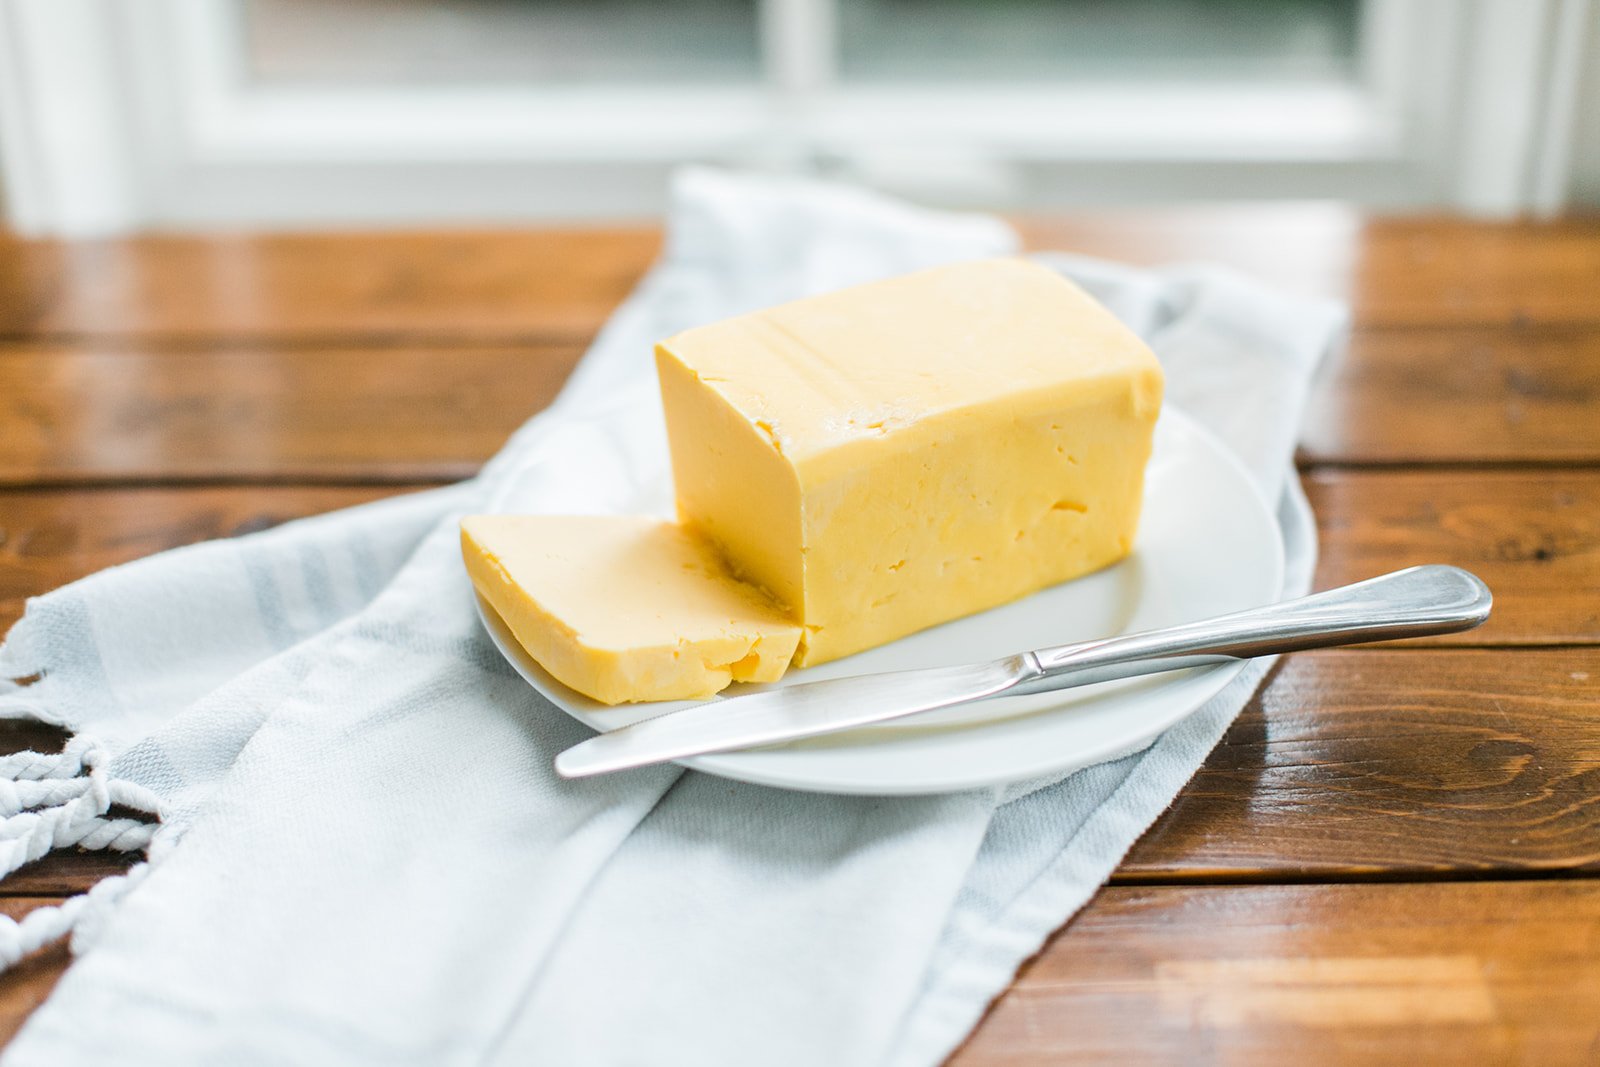
Butter!!!
Pour everything into a colander over a bowl. The fresh buttermilk will drain through to the bowl and you'll have fresh butter leftover. (Use buttermilk in baking!)
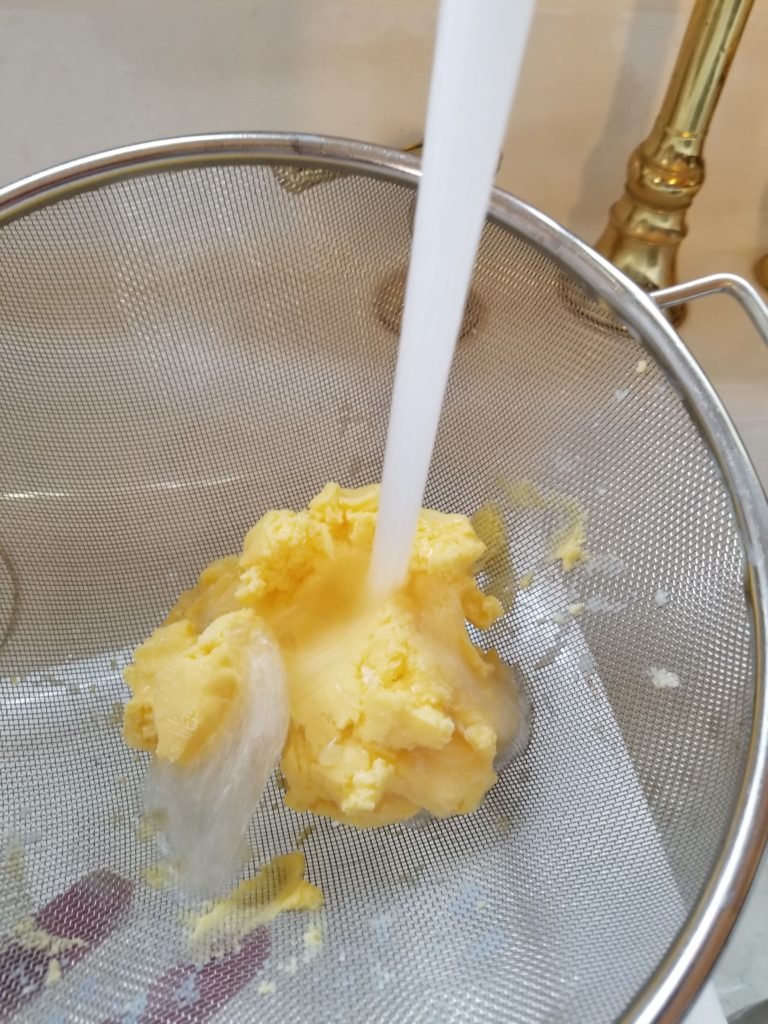
Rinse under cold running water and squeeze the butter to rinse all of the buttermilk out. Buttermilk will make butter spoil faster, so this is an important step.
Wrap in paper or plastic and store in the fridge for 1 week or in the freezer for months.
This is the color of real pastured butter!